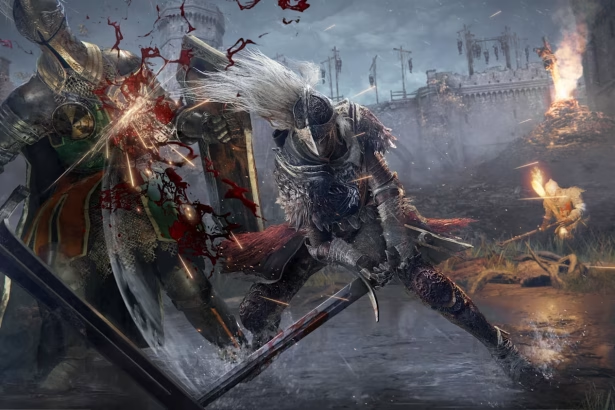
In Elden ring You will venture far and wide traveling towards fallen kingdoms and ruins. In which you may find bosses, who of which you will have to challenge in order to proceed. (SPOILERS AHEAD)
Below is a list of some major bosses you will come across throughout your journey, along with some tips on how to defeat them.
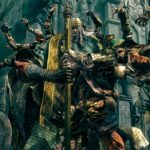
The Shard Bearers
The Seven Shard Bearers are the main bosses you will have to face in order to advance throughout the game. though not all of them, you will need to claim some of their shards in order to mend the Elden Ring.
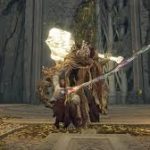
Godrick the Grafted
Godrick the Grafted is one of the descendants of Queen Marika and claimer of one of the Great Runes. Being the weakest of the lot, Godrick took to grafting other humans onto his body in in order gain some sense of power. During his fight Godrick will use his greataxe and wind abilities to attack you from close and distance. In phase 2 he will graft a dragon head onto his arm and use it to breath fire in the arena, heightening is attack power and adding fire to his wind abilities.

Rennala, Queen of the Full Moon
Rennala is the Queen of Raya Lucaria. Being abandoned by Radagon of the Golden Order, she isolated herself within the Academy of Raya Lucaria. In her first phase she will float in a protective bubble not being able to take any damage. One of the students below her will be singing a melody and glow a radiating gold, hit them to stop it. After a few hits she will fall out of the bubble an will be susceptible to damage. in phase 2 she will transform the arena and begin to cast sorceries and summon enemies, making the fight a whole lot difficult. the trick is to keep aggression as she can easily be broken out of attacks.
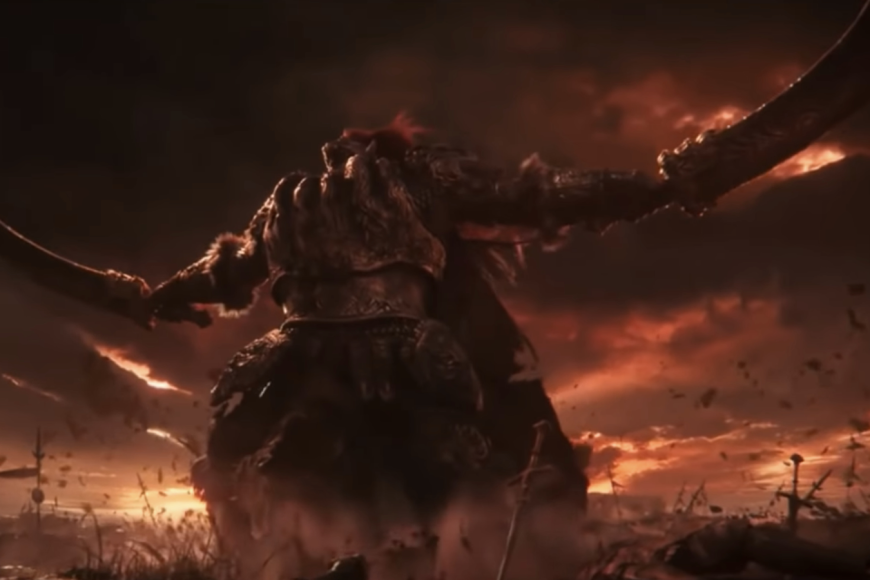
Starscrouge Radahn
General Radahn. The most fierce of the Demigods. Left in ruin after his battle with Malenia, Blade of Miquella. He is nothing more than a husk of his former self. but that doesn’t mean he is weak however. During his fight Radahn will swing his Greatswords at fast speeds, capable of dealing devastating blows and covering wide amounts of area. Additionally he will use his gravity sorceries to his advantage, Covering his blades in rocks and shooting collapsing stars at you. In phase 2 he will take to the skies and come flying down at the speed of a meteor. crashlanding like one as well. In this phase he uses more of his meteor sorceries by lifting rocks out of the ground and flinging them towards you. The idea is to stick below him and attack when he is swinging elsewhere, or waiting for openings and breaks during his combos.
Morgott, the Omen King
Morgott, the Omen King is the last loyal son of Marika. Even though she banished him and is twin Mohg to the sewers. This isn’t the first time you encounter Morgott as you fight him before entering Stormveil Castle, under the alias as Margit, the Fell Omen. During his fight Morgott will use his cursed sword to attack you along with summoning holy weapons ranging from throwing dagger, swords, spears and even a colossal great hammer. In his phase 2 he will spill his cursed blood and flood the arena in a golden mush of blood. His attacks now leaving behind miniature rupture behind each attack. he will also gain new attacks where he enhances his sword with cursed blood flame. When fighting him, dodge, deflect, parry his combos to allow for openers. And avoid his holy weapon attacks.

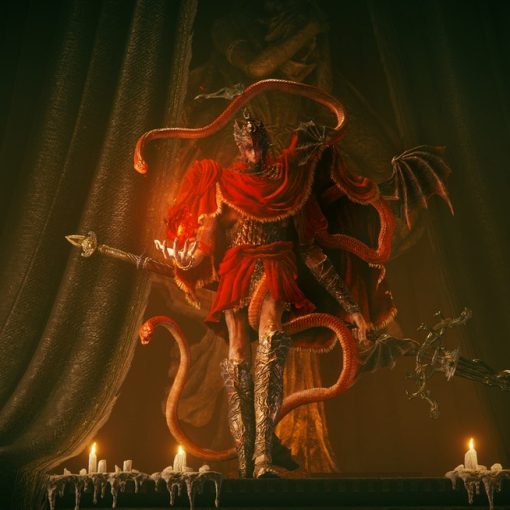
Rykard, Lord of Blasphemy
Rykard, Lord of Blasphemy is a traitorous tyrant, allowing himself to be consumed by the God-Devouring Serpent. Which one day is said to swallow the whole world. When you enter his arena you are prompted to pick up the Serpent Hunter, a weapon specially crafted to slay the God Devouring Serpent. When fighting keep your distance and watch out for it’s attempts to grad, bite, or spew up poisonous venom. In the second phase Rykard reveals himself to be one with the Serpent, while pulling a blade out of his mouth. Rykard uses the Serpent’s head to attack or by swinging his sword and casting his magma sorceries. As I mentioned keeping your distance is vital to survival. The Serpent Hunter is able to create beams of light to allow you to attack from a distance.
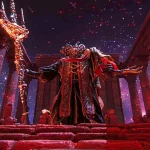
Mohg, Lord of Blood
Mohg, Lord of Blood. The leader of a cult derived on forging a Dynasty, to that he stole his Empyrean half-brother Miquella form his cocoon to rase him into God hood. During his boss fight Mohg will swing his Sacred Spear and use his blood incantations to inflict blood loss upon you. As Mohg losses health he begins to chant a ritual where he thrusts his spear into a portal, summoning tings around the player. After three times he begins to chant NIHIL. While doing this the player will begin to rapidly loose health as Mohg regains his. The damage to the player can be nullified by using the Purifying Crystal Tear. In his second phase. Mohg grows a pair of wings and uses them to attack alongside more blood incantations, while also applying a permanent bloodflame blade buff to his spear. While avoiding his attacks, watch around you as they leave bloodflame around the arena, walking into this will damage you and build up blood loss.
Malenia, Blade of Miquella
Malenia, Blade of Miquella. The result of Queen Marika attempting to birth a God by herself. Malenia was born cursed with Scarlet Rot, while Miquella was cursed with never aging. Malenia, vowing to protect her brother, learned to to master the sword. Fighting her is no easy feat, as she is one of the most difficult fights in the entire game. In her fight she will attack primarily with her sword, attached to her prosthetic arm. Capable of inflicting rapid attacks, she can even swing at the speed of light. If the player is hit Malenia will regen her health. In phase 2 she is reborn as the Goddess of Rot. Now she will inflict rot with her attacks and will fly around with her wings. She will also have some of her attacks from phase 1 enhanced. The key to defeating Malenia is to be fast. Do not hesitate for an opener or a dodge. She herself is quick and will easily overwhelm you.
Legends
Legend Bosses are bosses that are just as important as the shard bearers. These are powerful bosses that are usually found via main progression or by entering side areas.

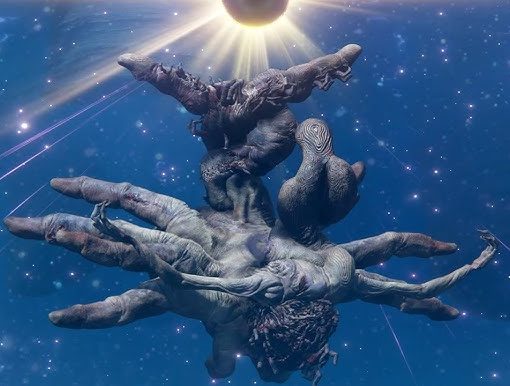
Regal Ancestor Spirit
The Regal Ancestor Spirit is a eternal spirit taking the form of a massive deer corpse. Constantly rebirthing itself into other life forms. When facing the Regal Ancestor Spirit it will use it’s horns to lunge at you or kick you with it’s hooves. It can also spray vapor waves which can damage you if you step into it. The spirit sometimes will collapse and rebirth elsewhere in the arena, depending on what it rebirth into could affect it’s attack patterns. When it drops below 50% of health it will siphon all life around it, healing itself while damaging you if you are close. the best bet for Regal Ancestor Spirit is to stay under it and attack but watch for vapor waves or any attacks that involves it glowing light blue.
Lichdragon Fortissax
Lichdragon Fortissax was the loyal friend to Godwyn the Golden. Even accompanying him in death as he rests below the roots of the Erdtree, festering with Death Blight. Said Death Blight even corrupting Fortissax as well. First of all to even face Fortissax you must first find the Curse Mark of Death and leave Fia alive to do her quest. Fortissax is pretty much an Ancient Dragon fight but slightly modified. Fortissax will summon Death Lightning and will be more violent with his attacks. Additionally he will cast two Dragon Lightning Spears instead of one. Fighting Fortissax will be tough, but treat him like other Ancient Dragons and you’ll be good. Just be more attentive towards his lightning attacks.
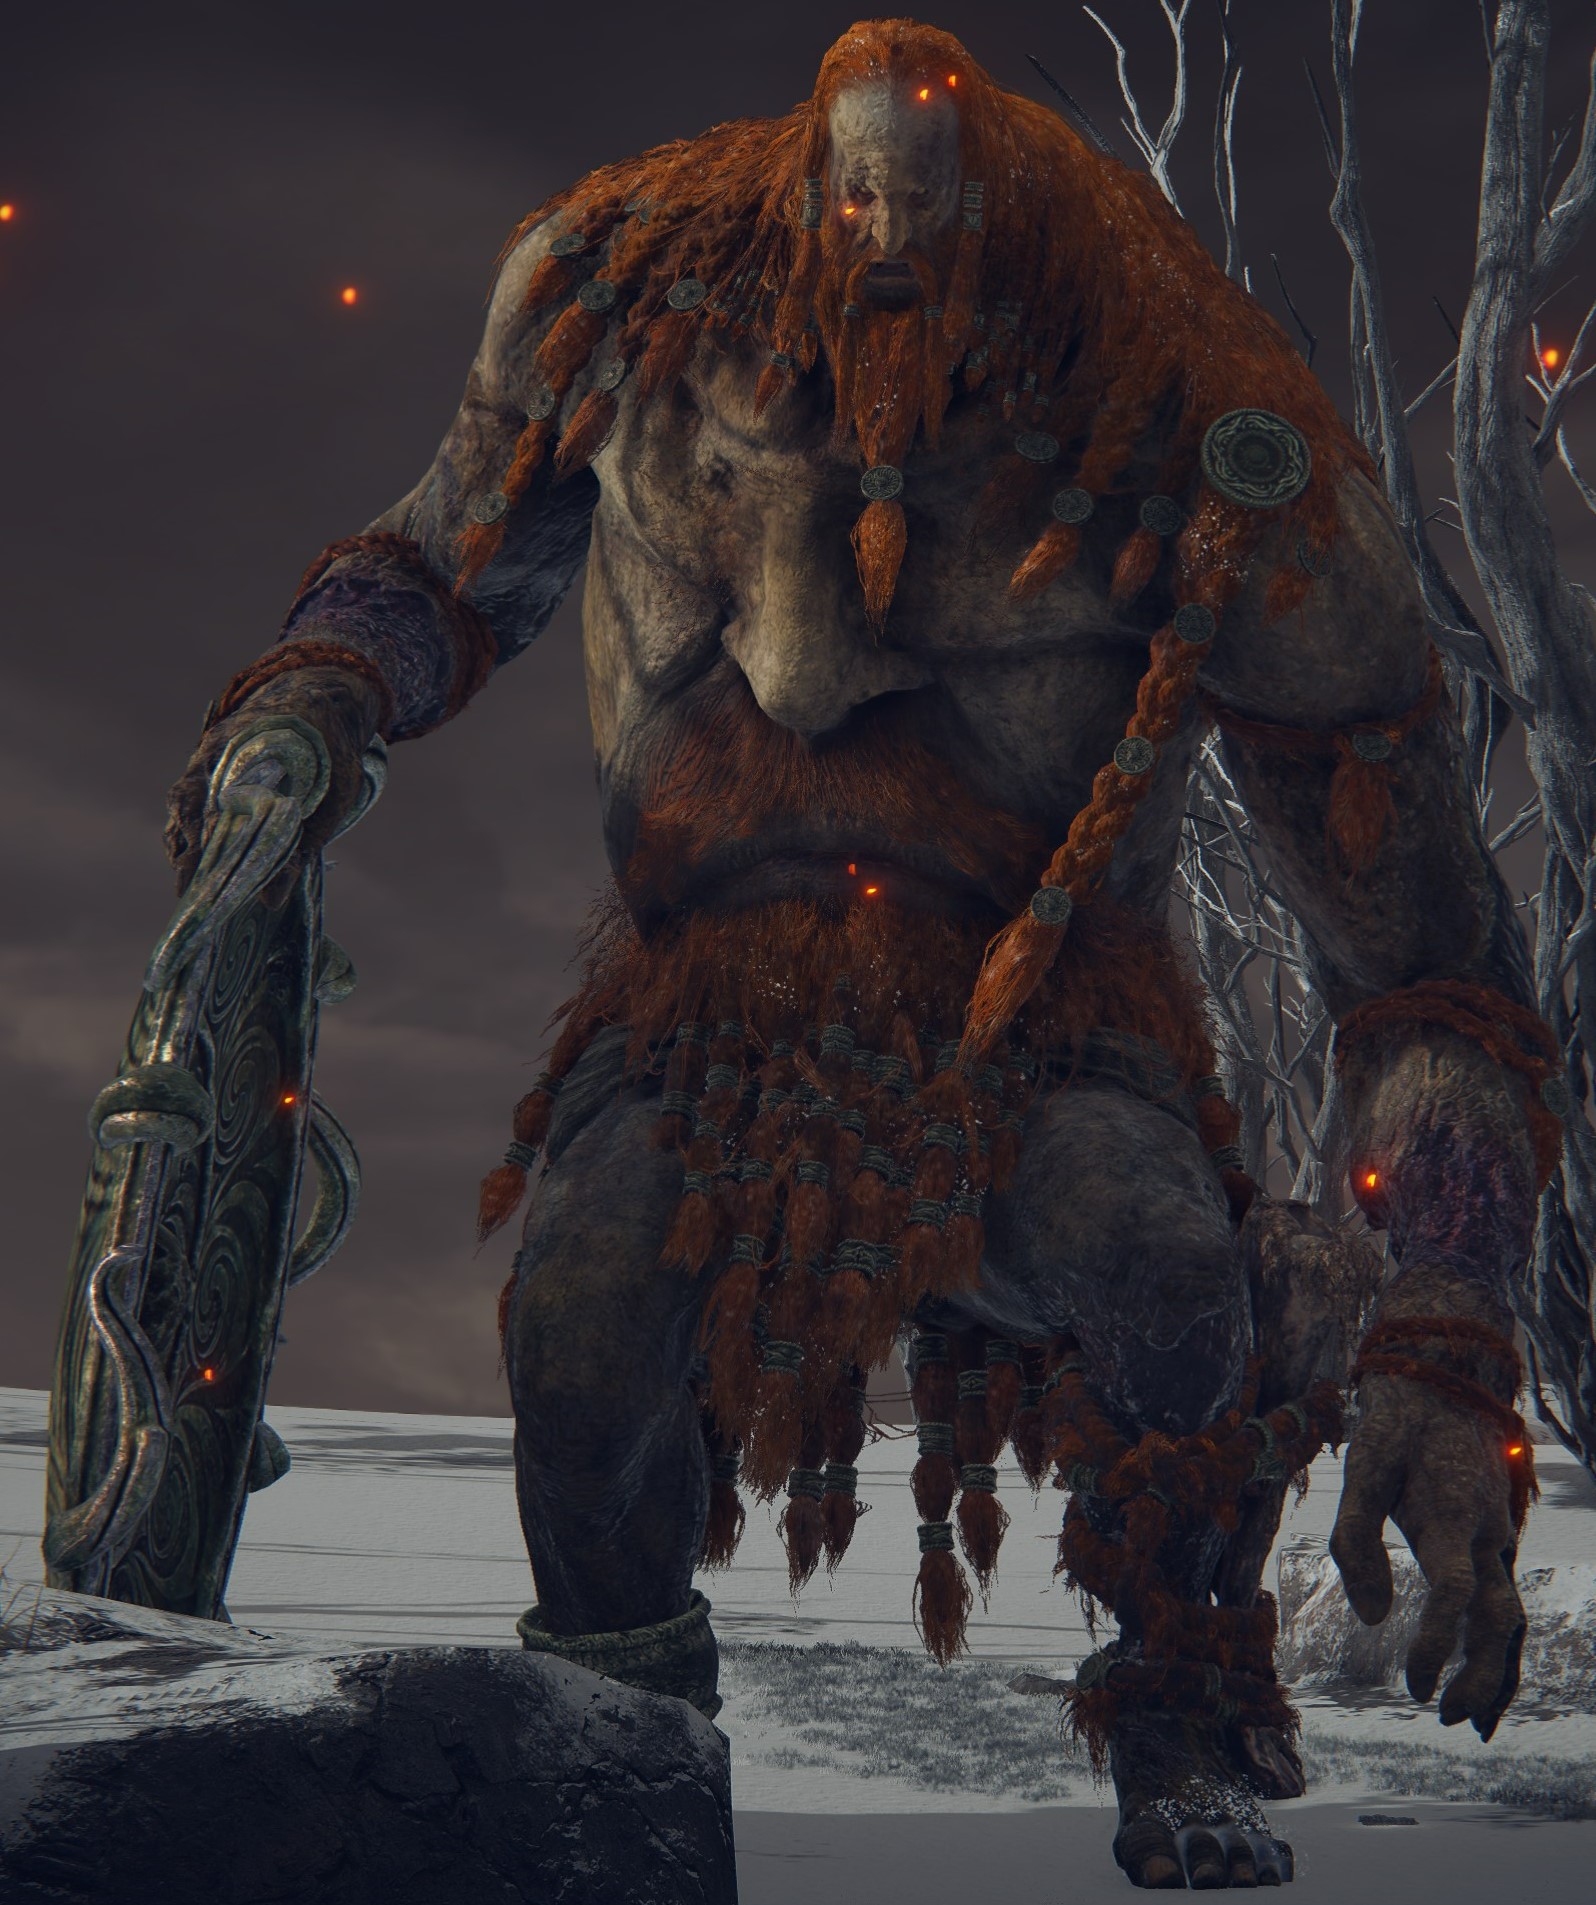
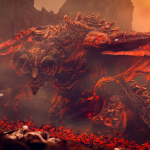
Fire Giant
The Fire Giant is a colossal giant and last of it’s kind. Queen Marika had placed a spell upon it, forcing it to tend to the Forge of the Giants and to keep the flame sundered so that it may never burn the Erdtree. The Fire Giant is massive in size, capable of slamming the ground with the cauldron lid it uses as a weapon. It can also cast incantations of the Fell God, or better known as Giant’s Flame incantations. In it’s second phase it will rip off its own leg, sacrificing it so that it’s god communes with it. Awakening a one eyed face upon its stomach. Now the Fire Giant will roll around and will cast more Giant’s Flame incants, capable of summoning pillars of flame or erupting magma rocks from it’s stomach’s mouth. The best bet for Fire Giant is to stick to it’s legs in both phases, keeping an eye on it incase it either jumps or rolls over you, or even casts an incant.
Beast Clergyman/Maliketh the Black Blade
Maliketh the Black Blade. Loyal shadow of Marika, bearer of Destined Death, and the most feared being in the Lands Between. Hiding under the guise of the Beast Clergyman. In his first phase he fights as the Beast Clergyman, casting Beastial incantations while swinging his cinquedea rapidly. once he drops below 55% however, he will transform into Maliketh, the Black Blade. Maliketh wields destined death, changing his cinquedea into a massive greatsword. If he hits you, he will apply an effect which will damage you over time. Certain attacks distinguished by his sword’s tip glowing yellow will even limit your maximum health. Fast, ferocious, deadly, Maliketh is a powerful foe that will halt your progression if you are unable to keep up with him. Obtaining the Blasphemous Claw before the fight will allow you to parry his Destined Death attacks (yellow tip). But other than that, stay fast and use the pillars in the boss arena to your advantage. Wield a weapon with some reach as well as Maliketh’s posture results in him having an arching stomach which could lead to you missing attacks.
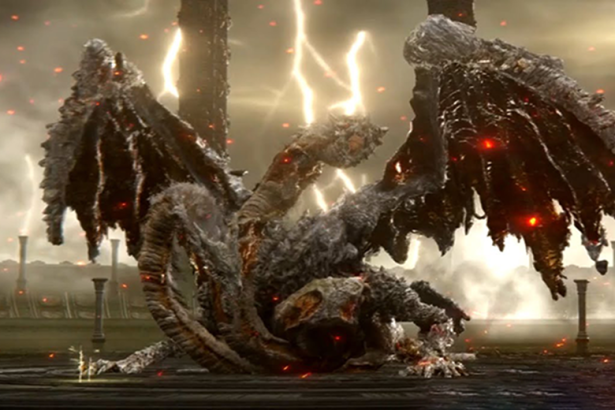
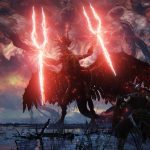
Dragonlord Placidusax
Dragonlord Placidusax was the original Elden Lord before the age of the Erdtree. A powerful Ancient Dragon whom once had five heads, sacrificing one during his inauguration of Dragonlord and and losing two amidst a battle with a more dreadful foe. Placidusax sits in a seat beyond time. Waiting for its God’s return. Placidusax is unlike any other Ancient Dragon. Being able to slash at foes with lightning claws while breathing fire from both of his heads. He can also create a massive lightning spear that when he plunges into the ground can cause a huge explosion. In second phase he gains the ability to phase in and out of the fight in a thunderous cloud form. He can use this to teleport behind the player or warp into the sky and crash land upon the player as well. Additionally he gains one of his most infamous attacks. The ability to control his fire and turn it into a focused laser beam capable of nearly one shotting you. The ideal way to fight Placidusax is to stay behind him as he sits in a more low down posture unlike other dragons. When he begins to warp, look around quickly to try and gauge where he is coming from. Keep up with him as he will be prompted to use his breath attacks if you are at a distance.

Astel, Naturalborn of the Void
Astel is a phenomenon from beyond the stars. Crashing into lands from a meteor. they are the full grown result of a Fallingstar Beast. Capable of creating explosive stars, shooting meteors and teleportation. Astel can be a tricky foe to face. Astel can also attack with it’s mandibles as well as it’s tail. When it goes into phase two it can cast a powerful meteor storm which could overwhelm the player if they are underprepared. Best way to fight Astel is to alternate between being beneath it and Infront of it. weaponry with reach is highly recommended.
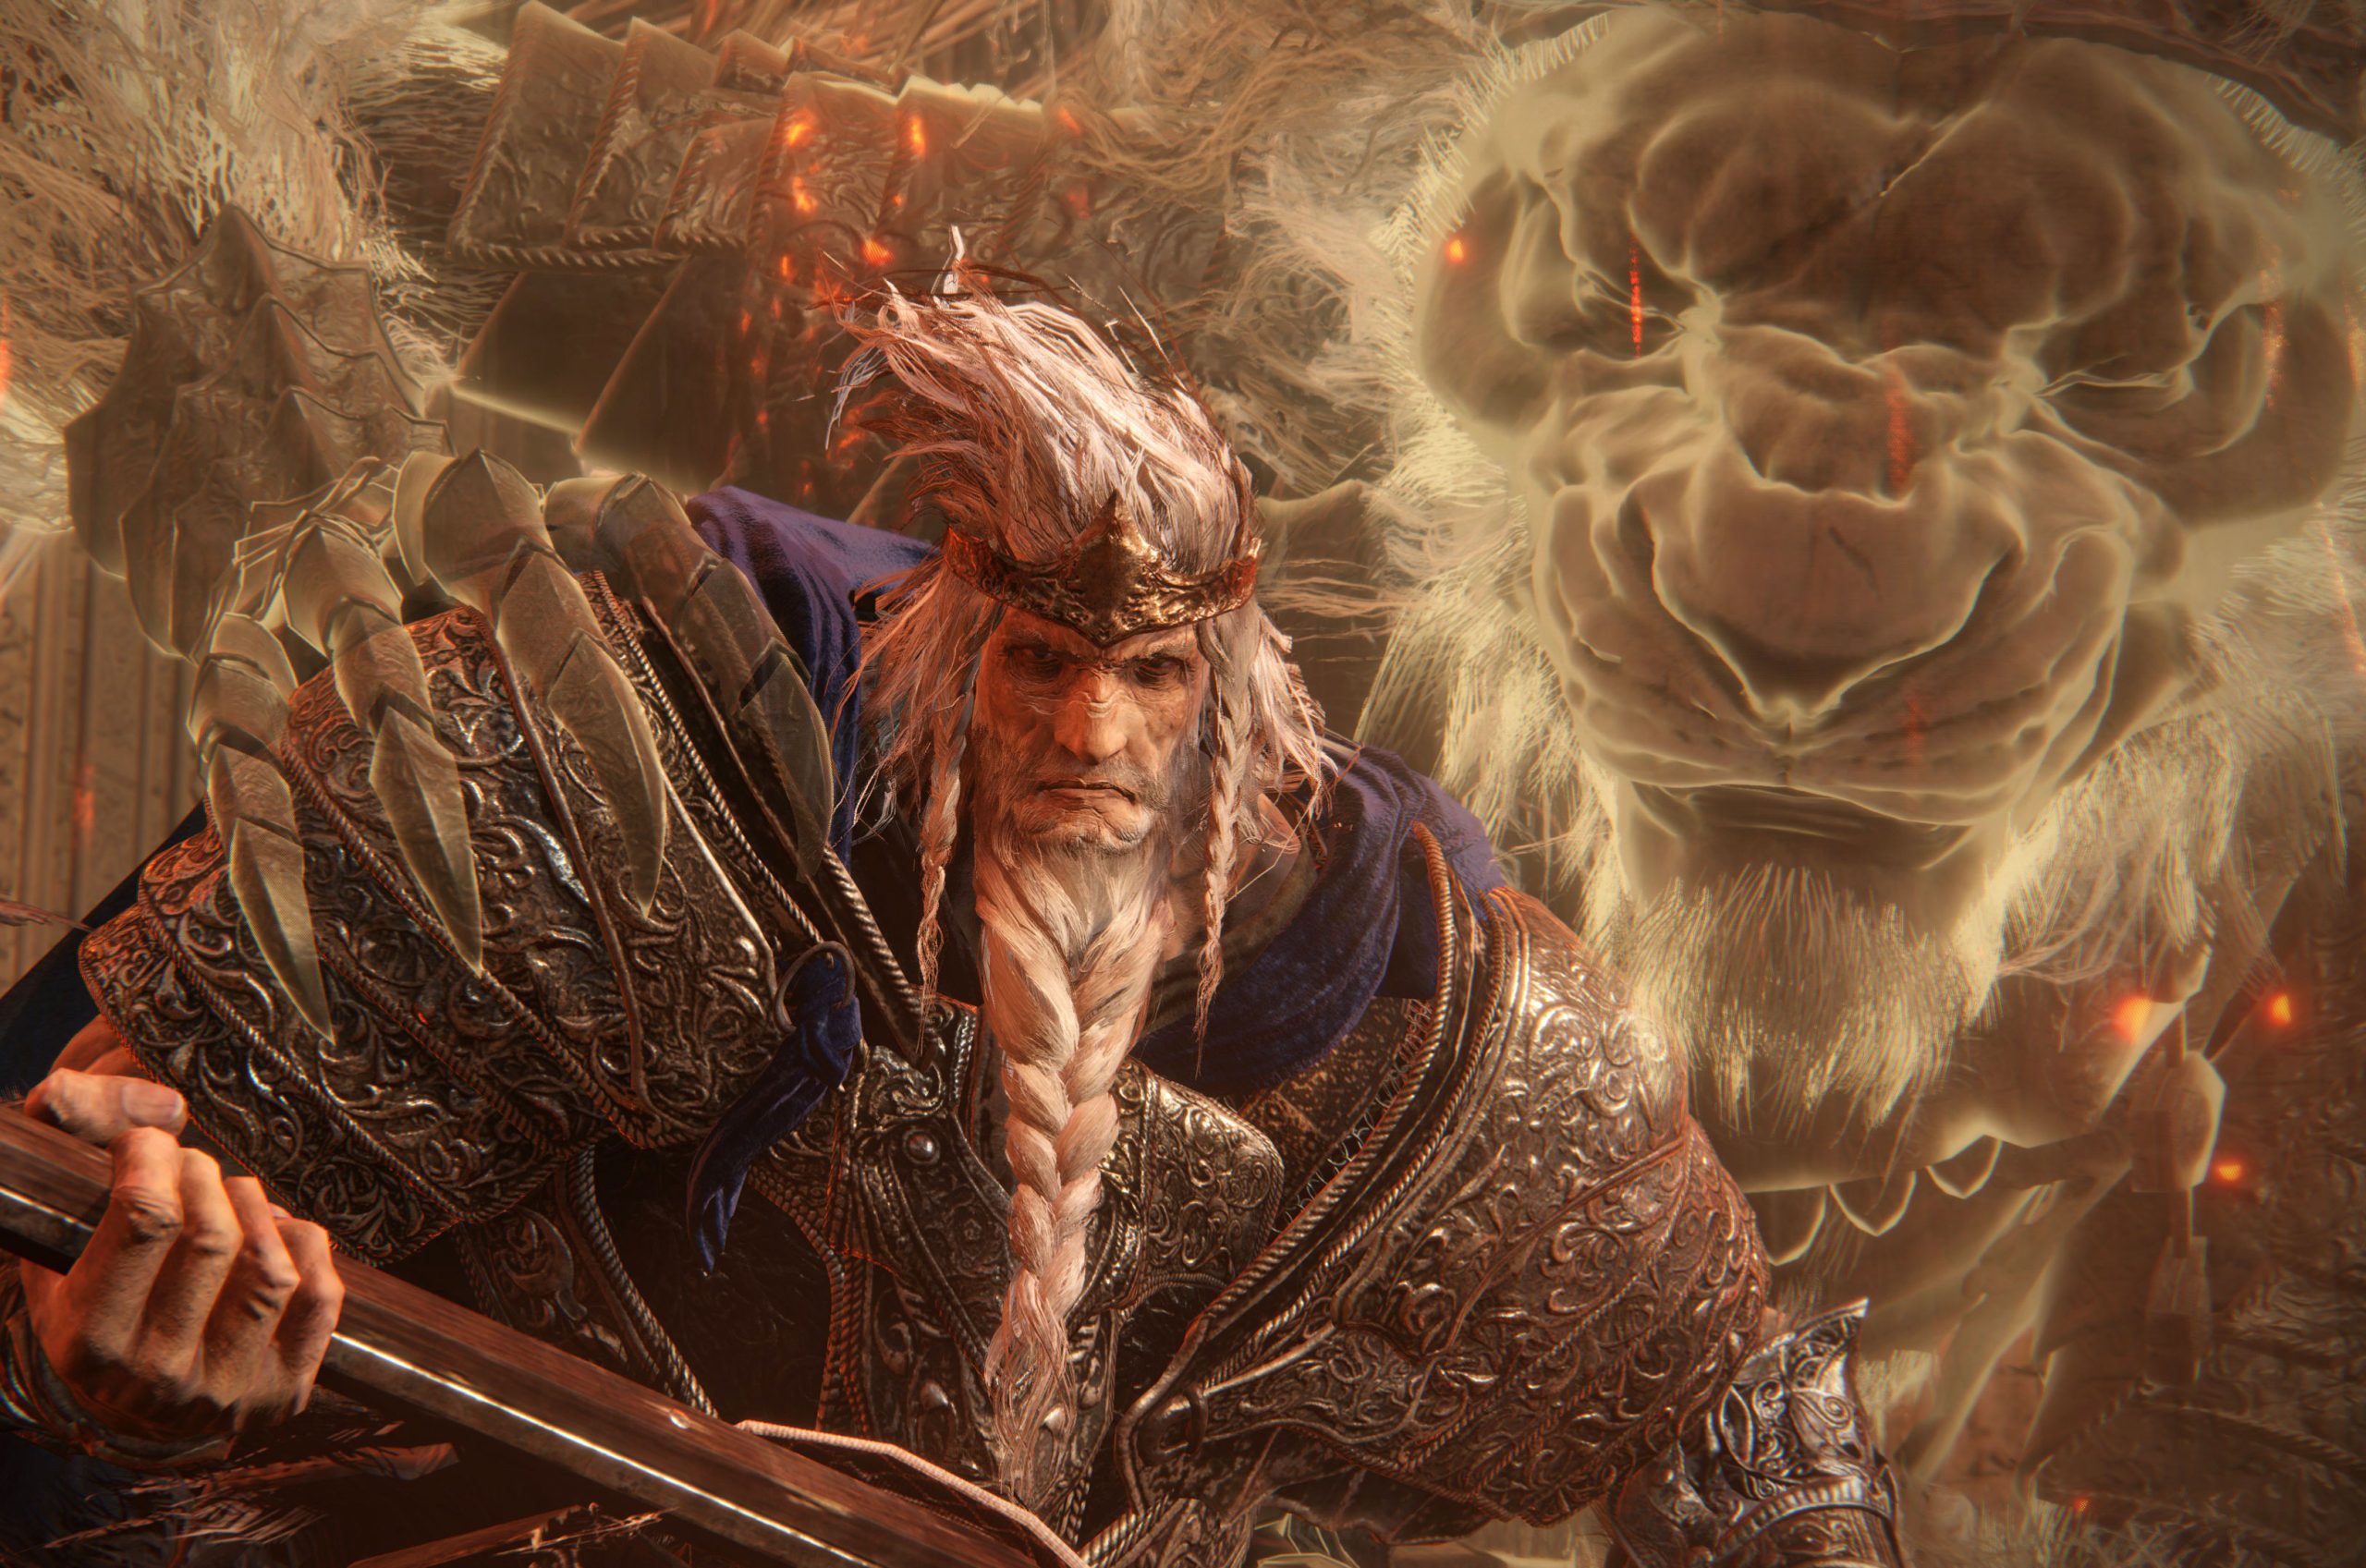
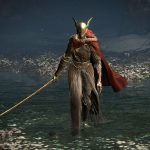
Godfrey, First Elden Lord/Hoarah Loux
Godfrey, First Elden Lord. A mighty powerful foe. Returning from his exile to reclaim his title as Elden Lord. Godfrey fights with his great axe along with his pure strength, being able to even rip up the ground and cause eruptions. Around 75% he will slam his axe into the ground, causing shockwaves to span the entire arena when ever he stomps. At half HP he will turn into Hoarah Loux, Chieftain of the Bad Lands and Godfrey’s true form. Hoarah ditches his axe and fights with his hands. Swinging and clawing ferociously, even having multiple grab attacks. Around 25% health he gains the shockwave buff again. Best strategy for Godfrey/Hoarah is to wait for openings, he usually gives windows of opportunity to attack him. You can also jump his shockwave attacks if you time it right, highly recommend it.
DLC
These are the bosses that are found in the Shadow of the Erdtree DLC.
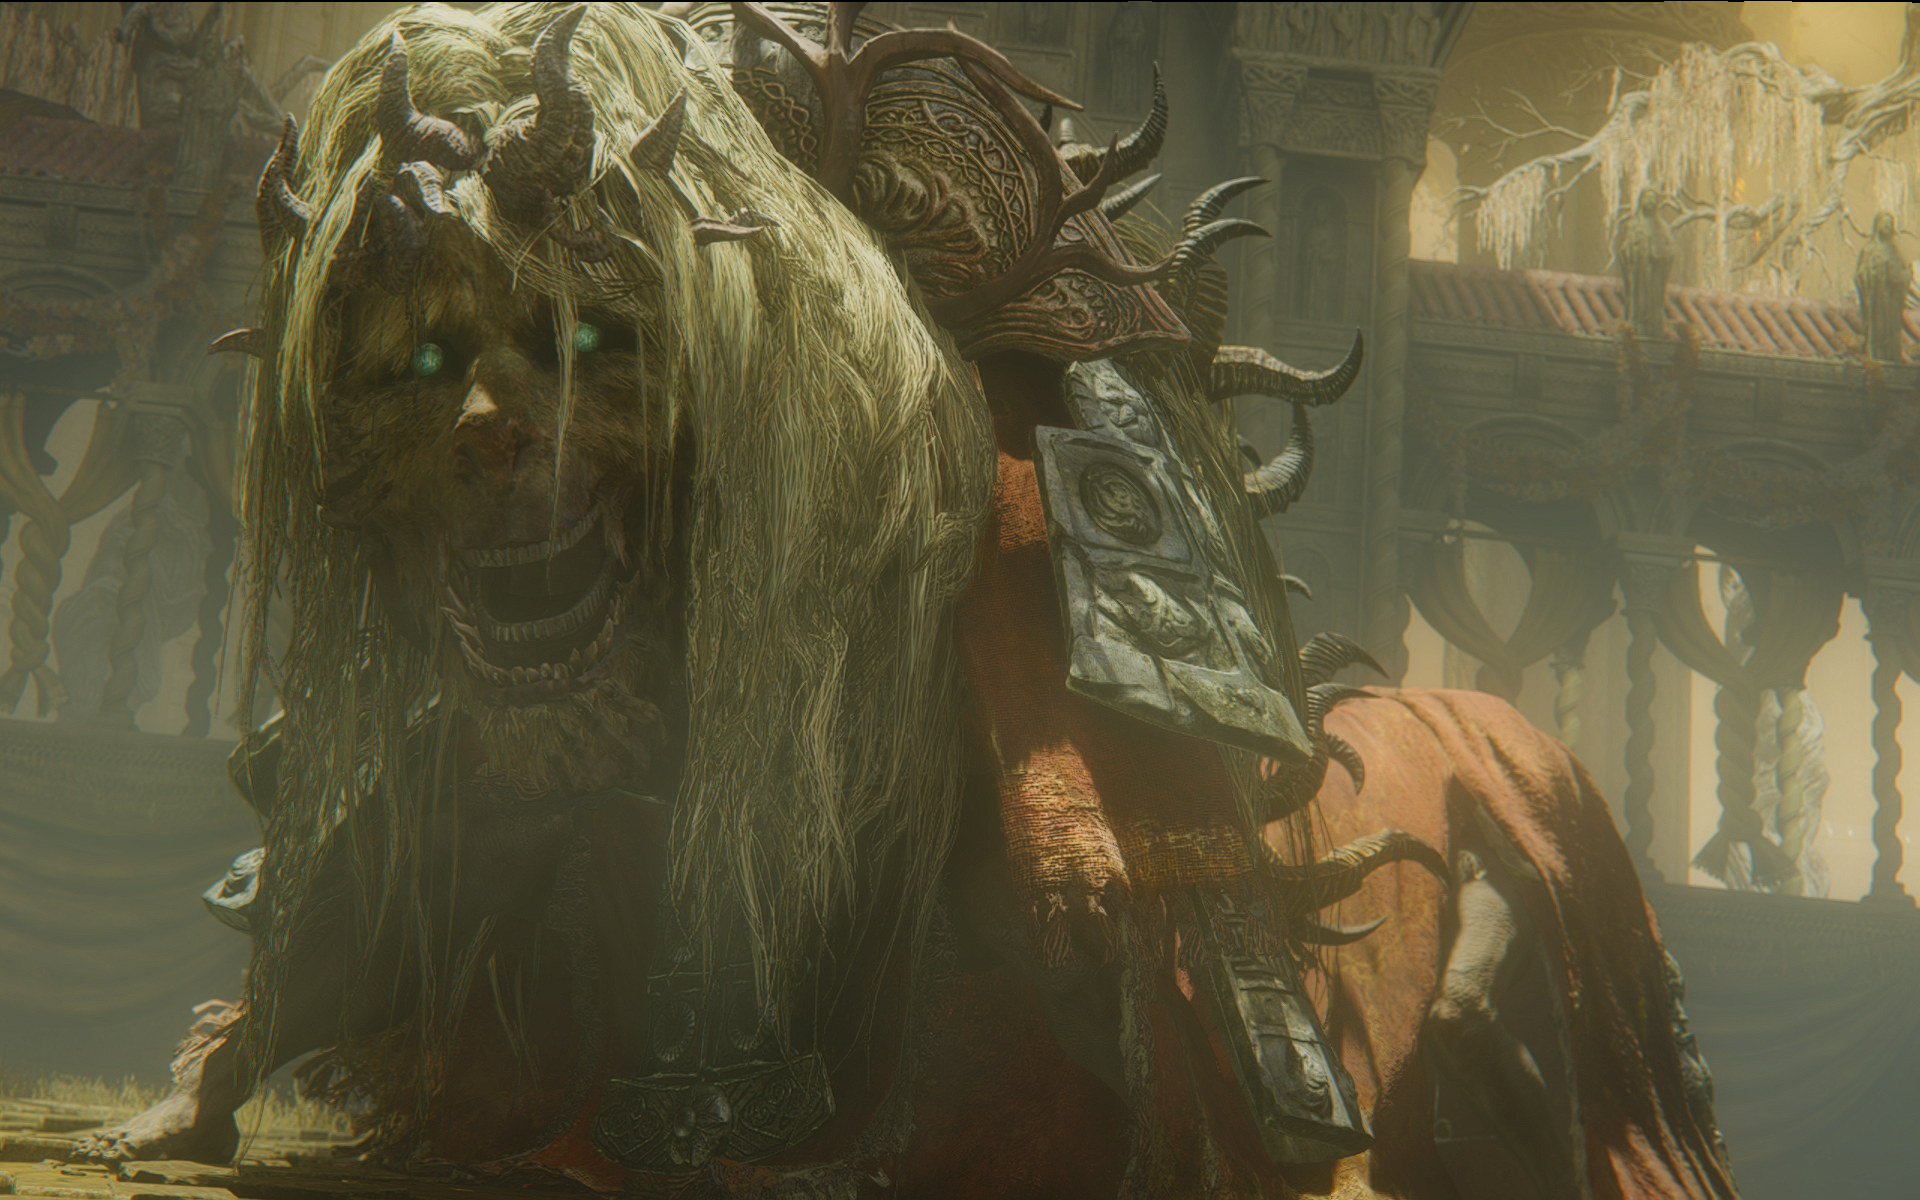
Divine Beast Dancing Lion
The Divine Beast Dancing Lion is a ritualistic costume controlled by two nameless individuals. Being originally a idol of worship for the Hornsent. The costume has the capabilities to channel the powers of the divine, being able to summon thunderstorms, ice storms, and tornados. The Lion is fast and deadly, being able to fly around and spew multiple elemental attacks at rapid succession. The best way to fight the divine beast is to circle and keep close to it, attacking when it is vulnerable. However, for the frost element it is recommended to keep distance as it’s stomps will leave icicles protruding out of the ground.
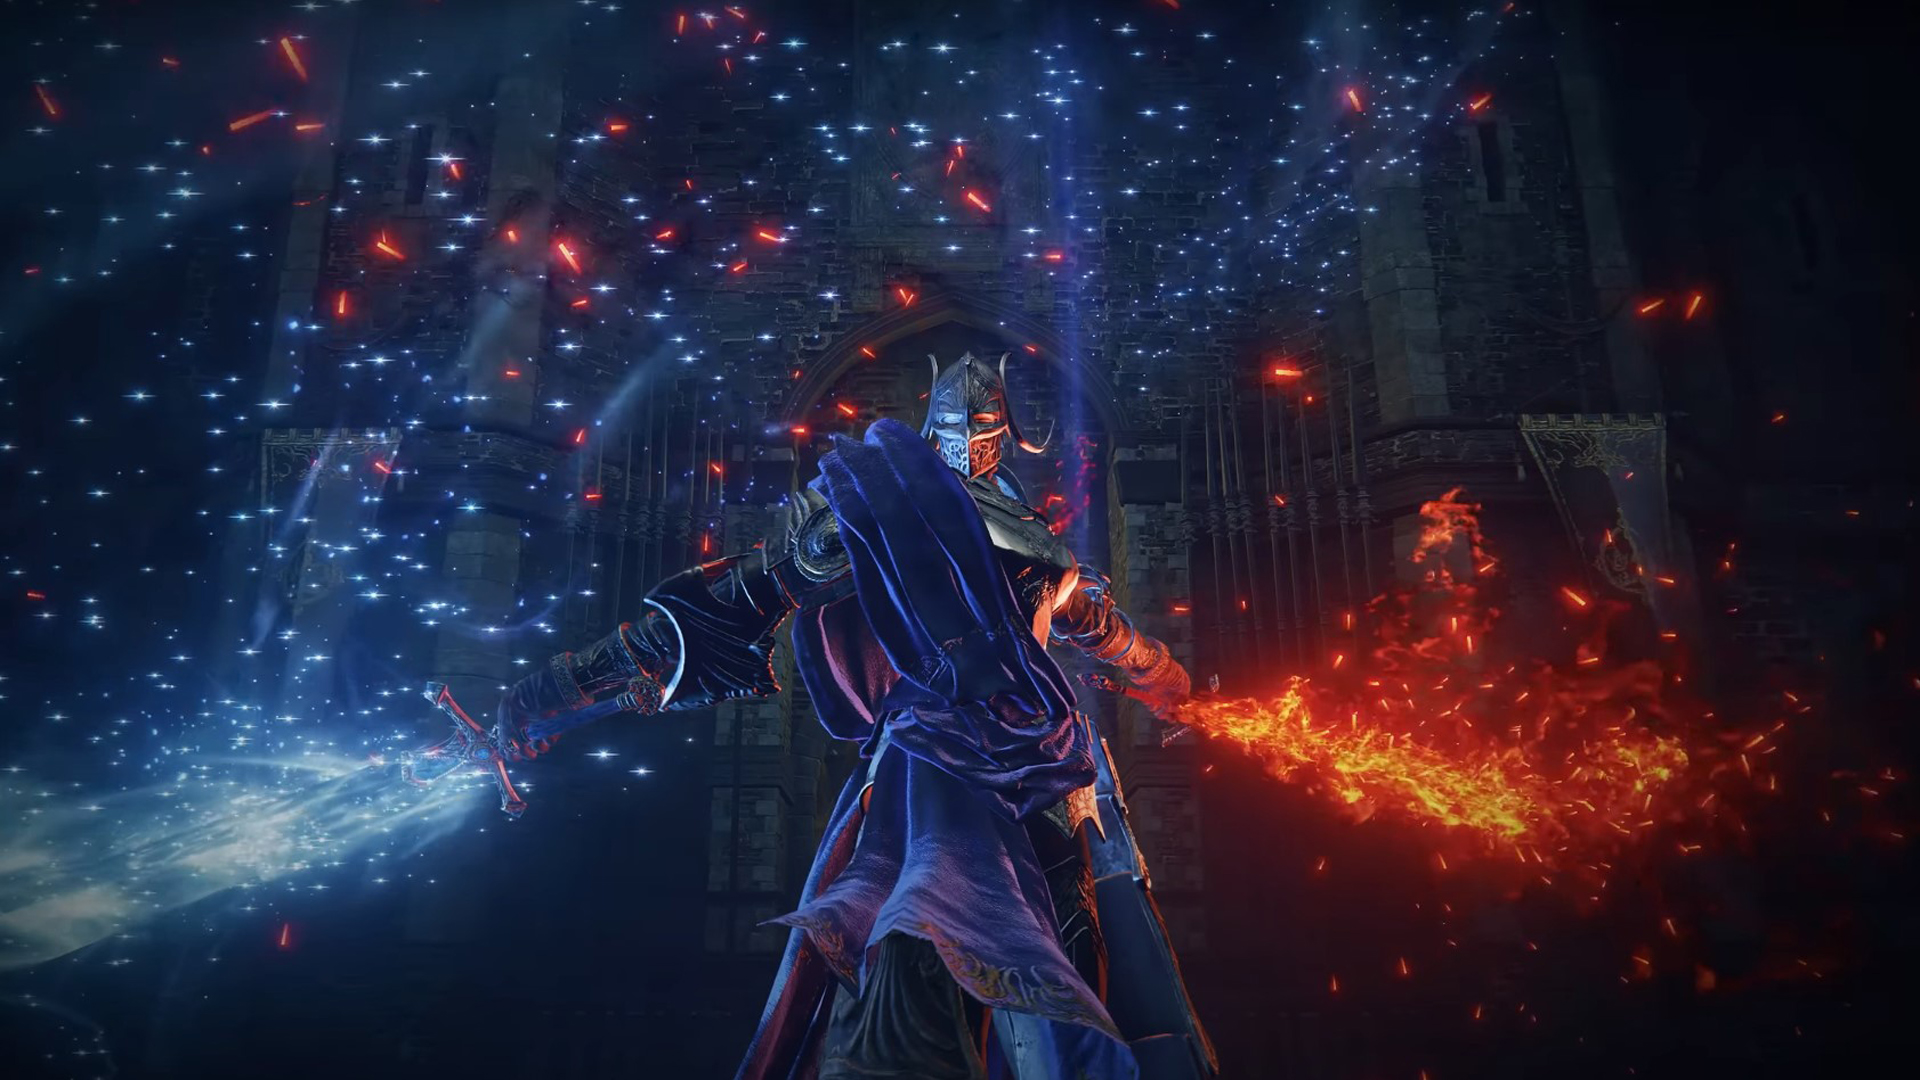
Rellana, Twin Moon Knight
Rellana is the younger sister to Rennala. Having left her home in search of Messmer The Impaler. Unlike her sister. Rellana uses two light greatswords in which she can infuse with Carian magic and Messmer flame. Rellana utilises fast sword techniques and combos to catch the player off guard. In second phase she adorns her blades with Carian magic and Messmer flame respectively. She now can do more devastating attacks such as slicing Carian light waves or causing a cyclone of Messmer flame to erupt. The best ways to fight with Rellana is to somewhat dance with her, doge along her attacks and attack when she has openings. Or you can parry some of her basic sword swings.
Messmer The Impaler
Messmer The Impaler. The other forsaken son of Marika, being left abandoned in the Land of Shadow and having all history of him wiped from the Lands between. Messmer was also the son who led the crusades against the Hornsent. In his fight Messmer uses his spear along with Messmer flame incantations attack, burn, or impale the player in quick, rapid succession. In phase two Messmer takes out his eye and reveals the Abyssal Serpent in which he was cursed with at birth, becoming Base Serpent Messmer. In this phase Messmer can now summon massive serpents to attack the player, additionally he is more aggressive and faster. Best thing to do for Messmer’s serpents is to watch for when they lunge then dodge.
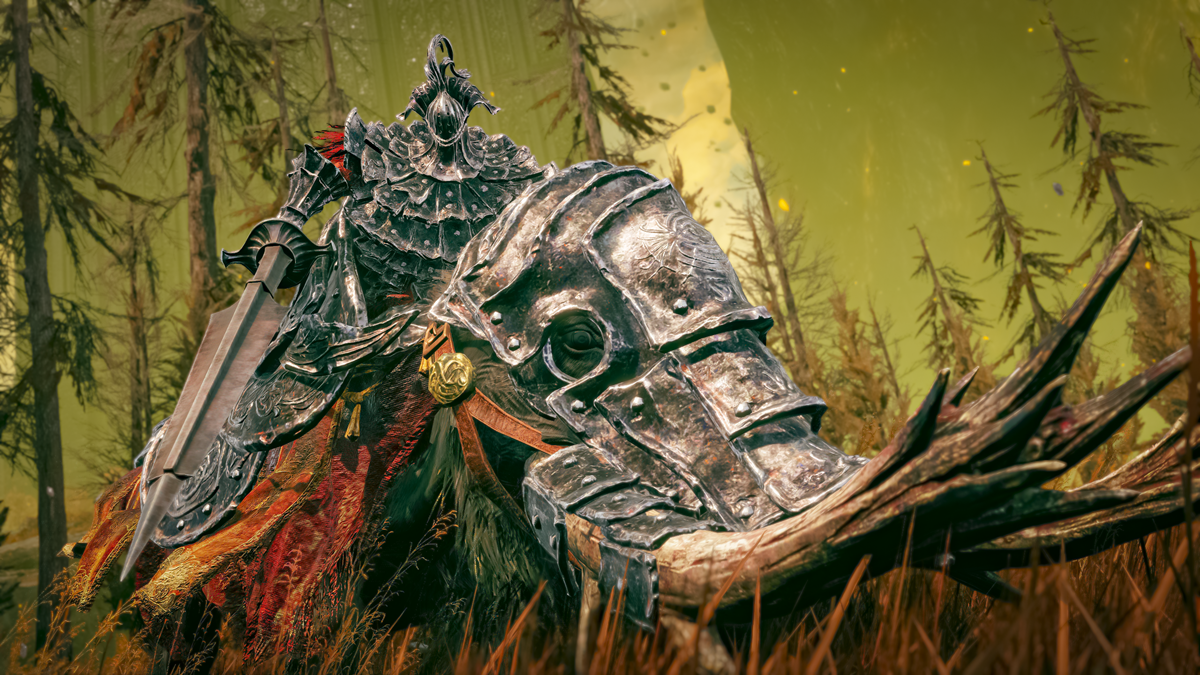
Commander Gaius
Commander Gaius was Messmer’s main general and friend. Being born an albinauric, Gaius bonded with the boar he rides into battle. Being a master of gravity sorceries and Boar-back combat. Gaius can combine his sword-lance techniques, boar half’s fury and gravity sorcery to overwhelm the player in his onslaughts. In phase two Gaius will erupt in gravitational energy and soar into the sky and slam down causing shockwaves. He will also use more gravity sorceries to his advantage. Creating collapsing vortexes and lifting his boar and charging forward at high speeds. The ideal way to beat Gaius is to stick to his sides or back. But watch out for his sword attacks and the boar’s hoof kick.
Metyr, Mother of Fingers
Metyr, Mother of Fingers. A god like being built entirely out of hands and fingers. She was one of the first meteors to land in the lands. She is capable of summoning black holes and fleeting microcosms. She can also shoot lasers out of her finger like head and summon small finger creeps. In phase two she will rise and create two massive laser beams that shoot over the entire arena. Metyr is best fought from the front as that is a weak point but just be cautious as she can slam her arms down on top of you.
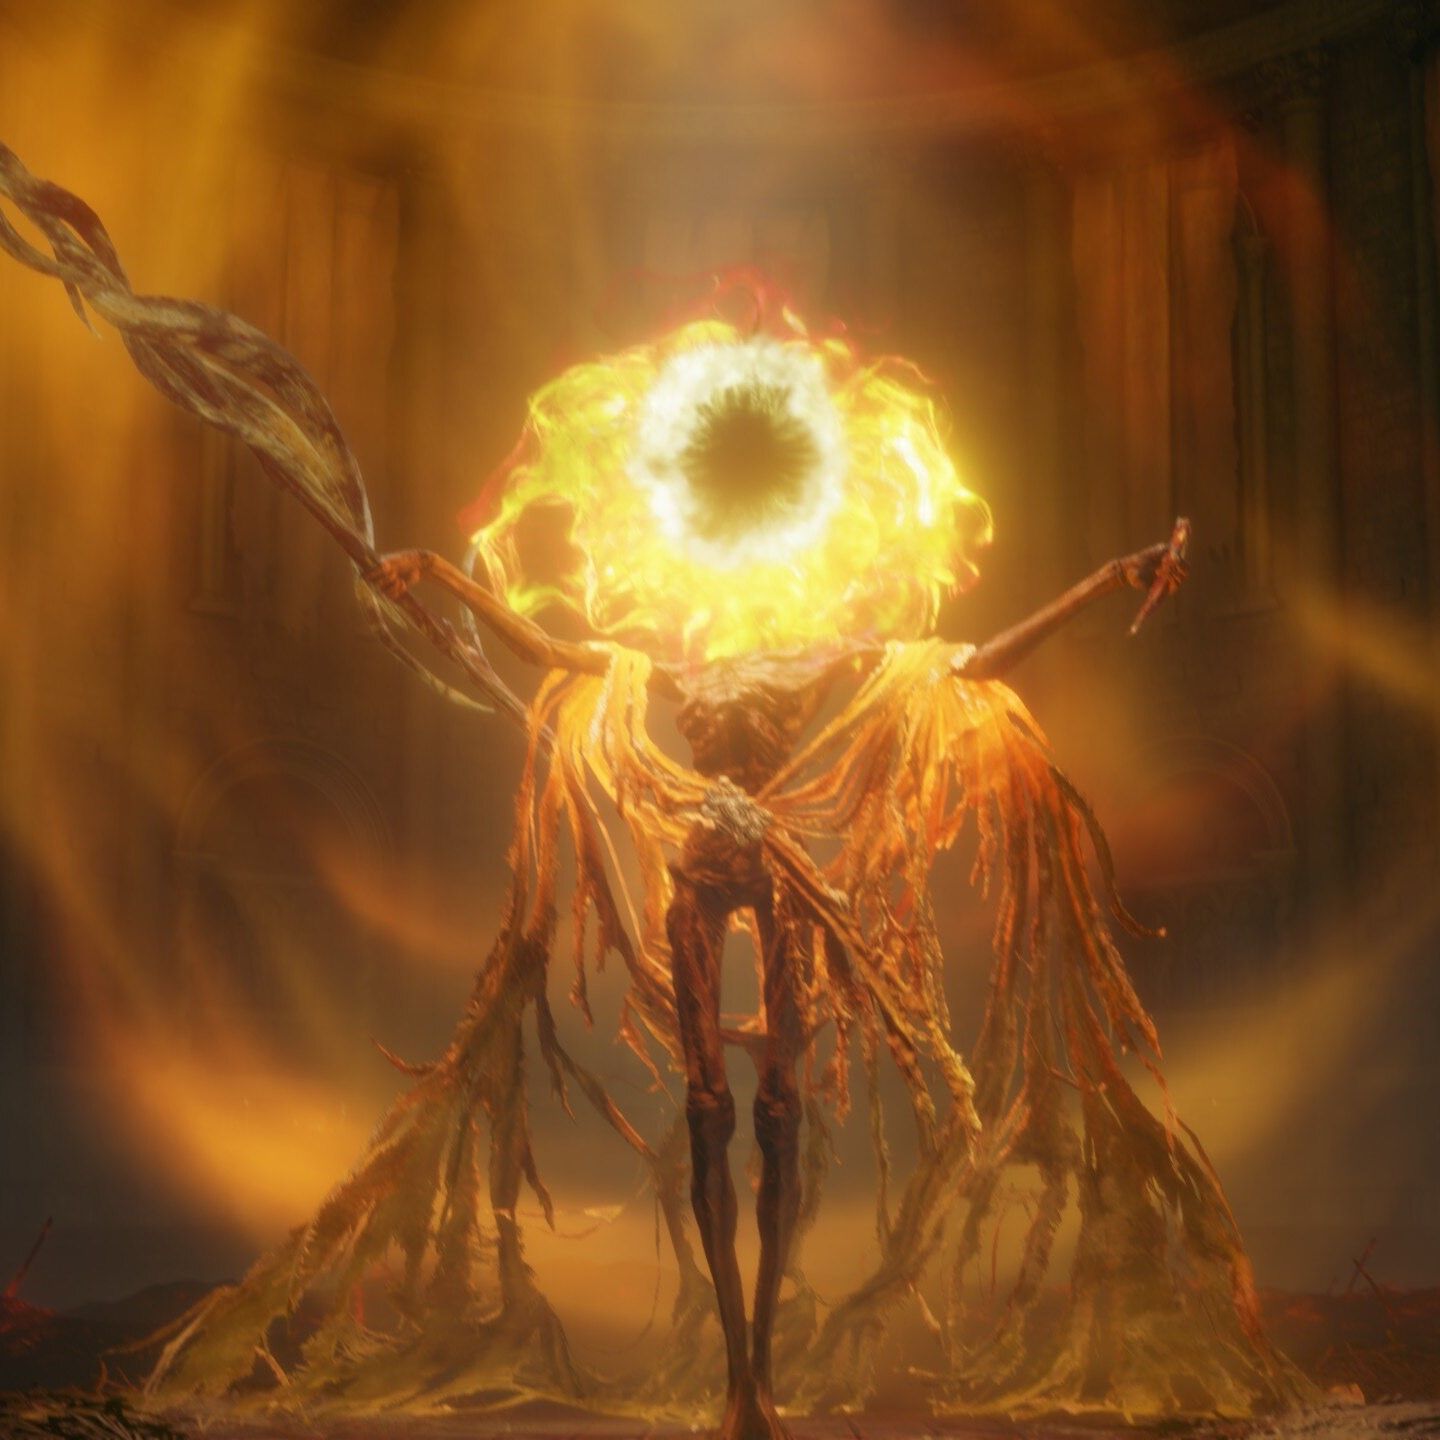
Midra, Lord of Frenzied Flame
Midra was a man who was imprisoned by the hornsent in an attempt to sedate his attempt to becoming the Lord of Frenzied Flame. This was fruitless however as Midra then rips off his head and finally becomes one with the Flame of Frenzy. Midra will use Frenzied Flame incantations along with the greatsword that had once impaled him to attack the player. Midra fights in a very elegant way, floating around and gracefully attacking the player. In second phase Midra will cause a Frenzied Flame explosion and will enhance his attacks further with more deadlier combos. Best way to combat Midra is to stay close as he will do less of his ranged attacks that are devastating. While staying close, dodging his sword swings will allow for openers.
Bayle the Dread
BAYLE THE DREAD. Nothing more than a malformed cannibalistic dragon. He is the reason Placidusax had lost his other two heads and was a betrayer of the dragons themselves. Bayle cannibalised other dragons believing that only the fittest shall survive. In his fight Bayle will fight furiously and fiercely. Using a broken wing with exposed bone as an improvised spear or sorts. Bayle can breathe a mix between fire and lightning, being able to deal more damage than other dragon breath attacks. In his second phase Bayle will grow a pair of lightning wings and soar high into the sky. Leaving fire balls in his wake. After crashlanding Bayle will be more powerful, being able to super charge his previous attacks and have now attacks such as his own improvised lightning spear and a beam attack from sky high. Bayle’s aggression can be his weakness however, as usually he has good openings for attacks. If you do need some moral support though. There is a man you may encounter on your way to finding Bayle, and let’s just say he has a deep hatred for this thing.
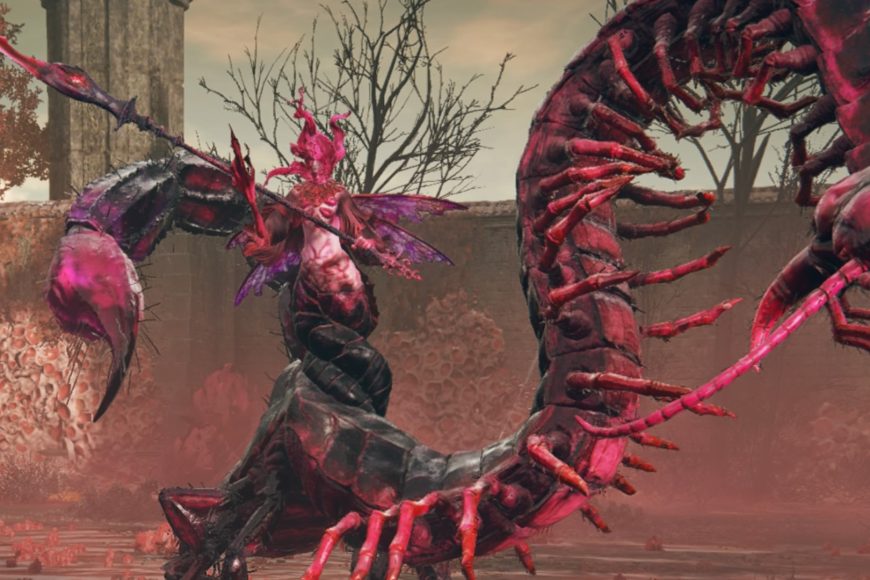
Romina, Saint of the bud
Romina, Saint of the bud was one of the many results of Messmer’s crusades. After the church she inhabited was burned, she discovered a divine element that allowed her to commune with the scarlet rot, additionally her body transformed with her lower half turning into a half centipede, half scorpion hybrid. She attacks via her polearm, and both ends of her lower half, capable of chaining the attacks and following up each attack successively. Second phase begins when she begins to float up, summoning a load of rotten butterflies before exploding them. Romina now uses her butterfly wings to gracefully fly around the arena, slicing with her polearm and leaving behind rotten butterflies. Romina is best fought with precaution. Stick to her sides and do not engage if you are uncertain of a safe recovery.

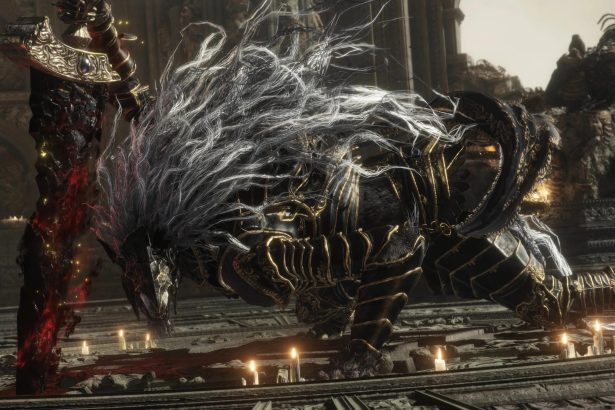
Putrescent Knight
Putrescent Knight is a mass of putrid flesh merged onto a skeletal frame. It wields a massive, curved cleaver and rides a horse made of the same mass. In first phase it will mainly swing its cleaver and charge at you with the horse. Sometimes he may also throw the cleaver at the player from a distance, to which it will boomerang back towards the Knight. In phase 2 it begins by congregating a mass of putrescence around it as it rises upwards, shooting masses of putrescence burst out it’s back and circulate around it. Causing a ring of ghostflame to push inwards, damaging the player unless they jump. Phase 2 is similar to phase 1 but just that it now shoots these putrescent masses at the player. The best way to fight the Knight is to, once again, wait for moments after it’s attacks, the Knight has incredibly long down times during attacks.